
DIY Quilt Sticks
Do you struggle to stretch your arms across the span of your quilt to hold it up for photos? Does your quilty partner find it uncomfortable to hold a quilt for extended periods? Fear not! We have a solution: Quilt sticks!

Quilt sticks are simple to make and require just three supplies, which you can easily find at your local hardware store or possibly already have in your garage. Best of all, no special equipment is needed!
Materials:
Dowel (3/4 inch -7/8 inch)
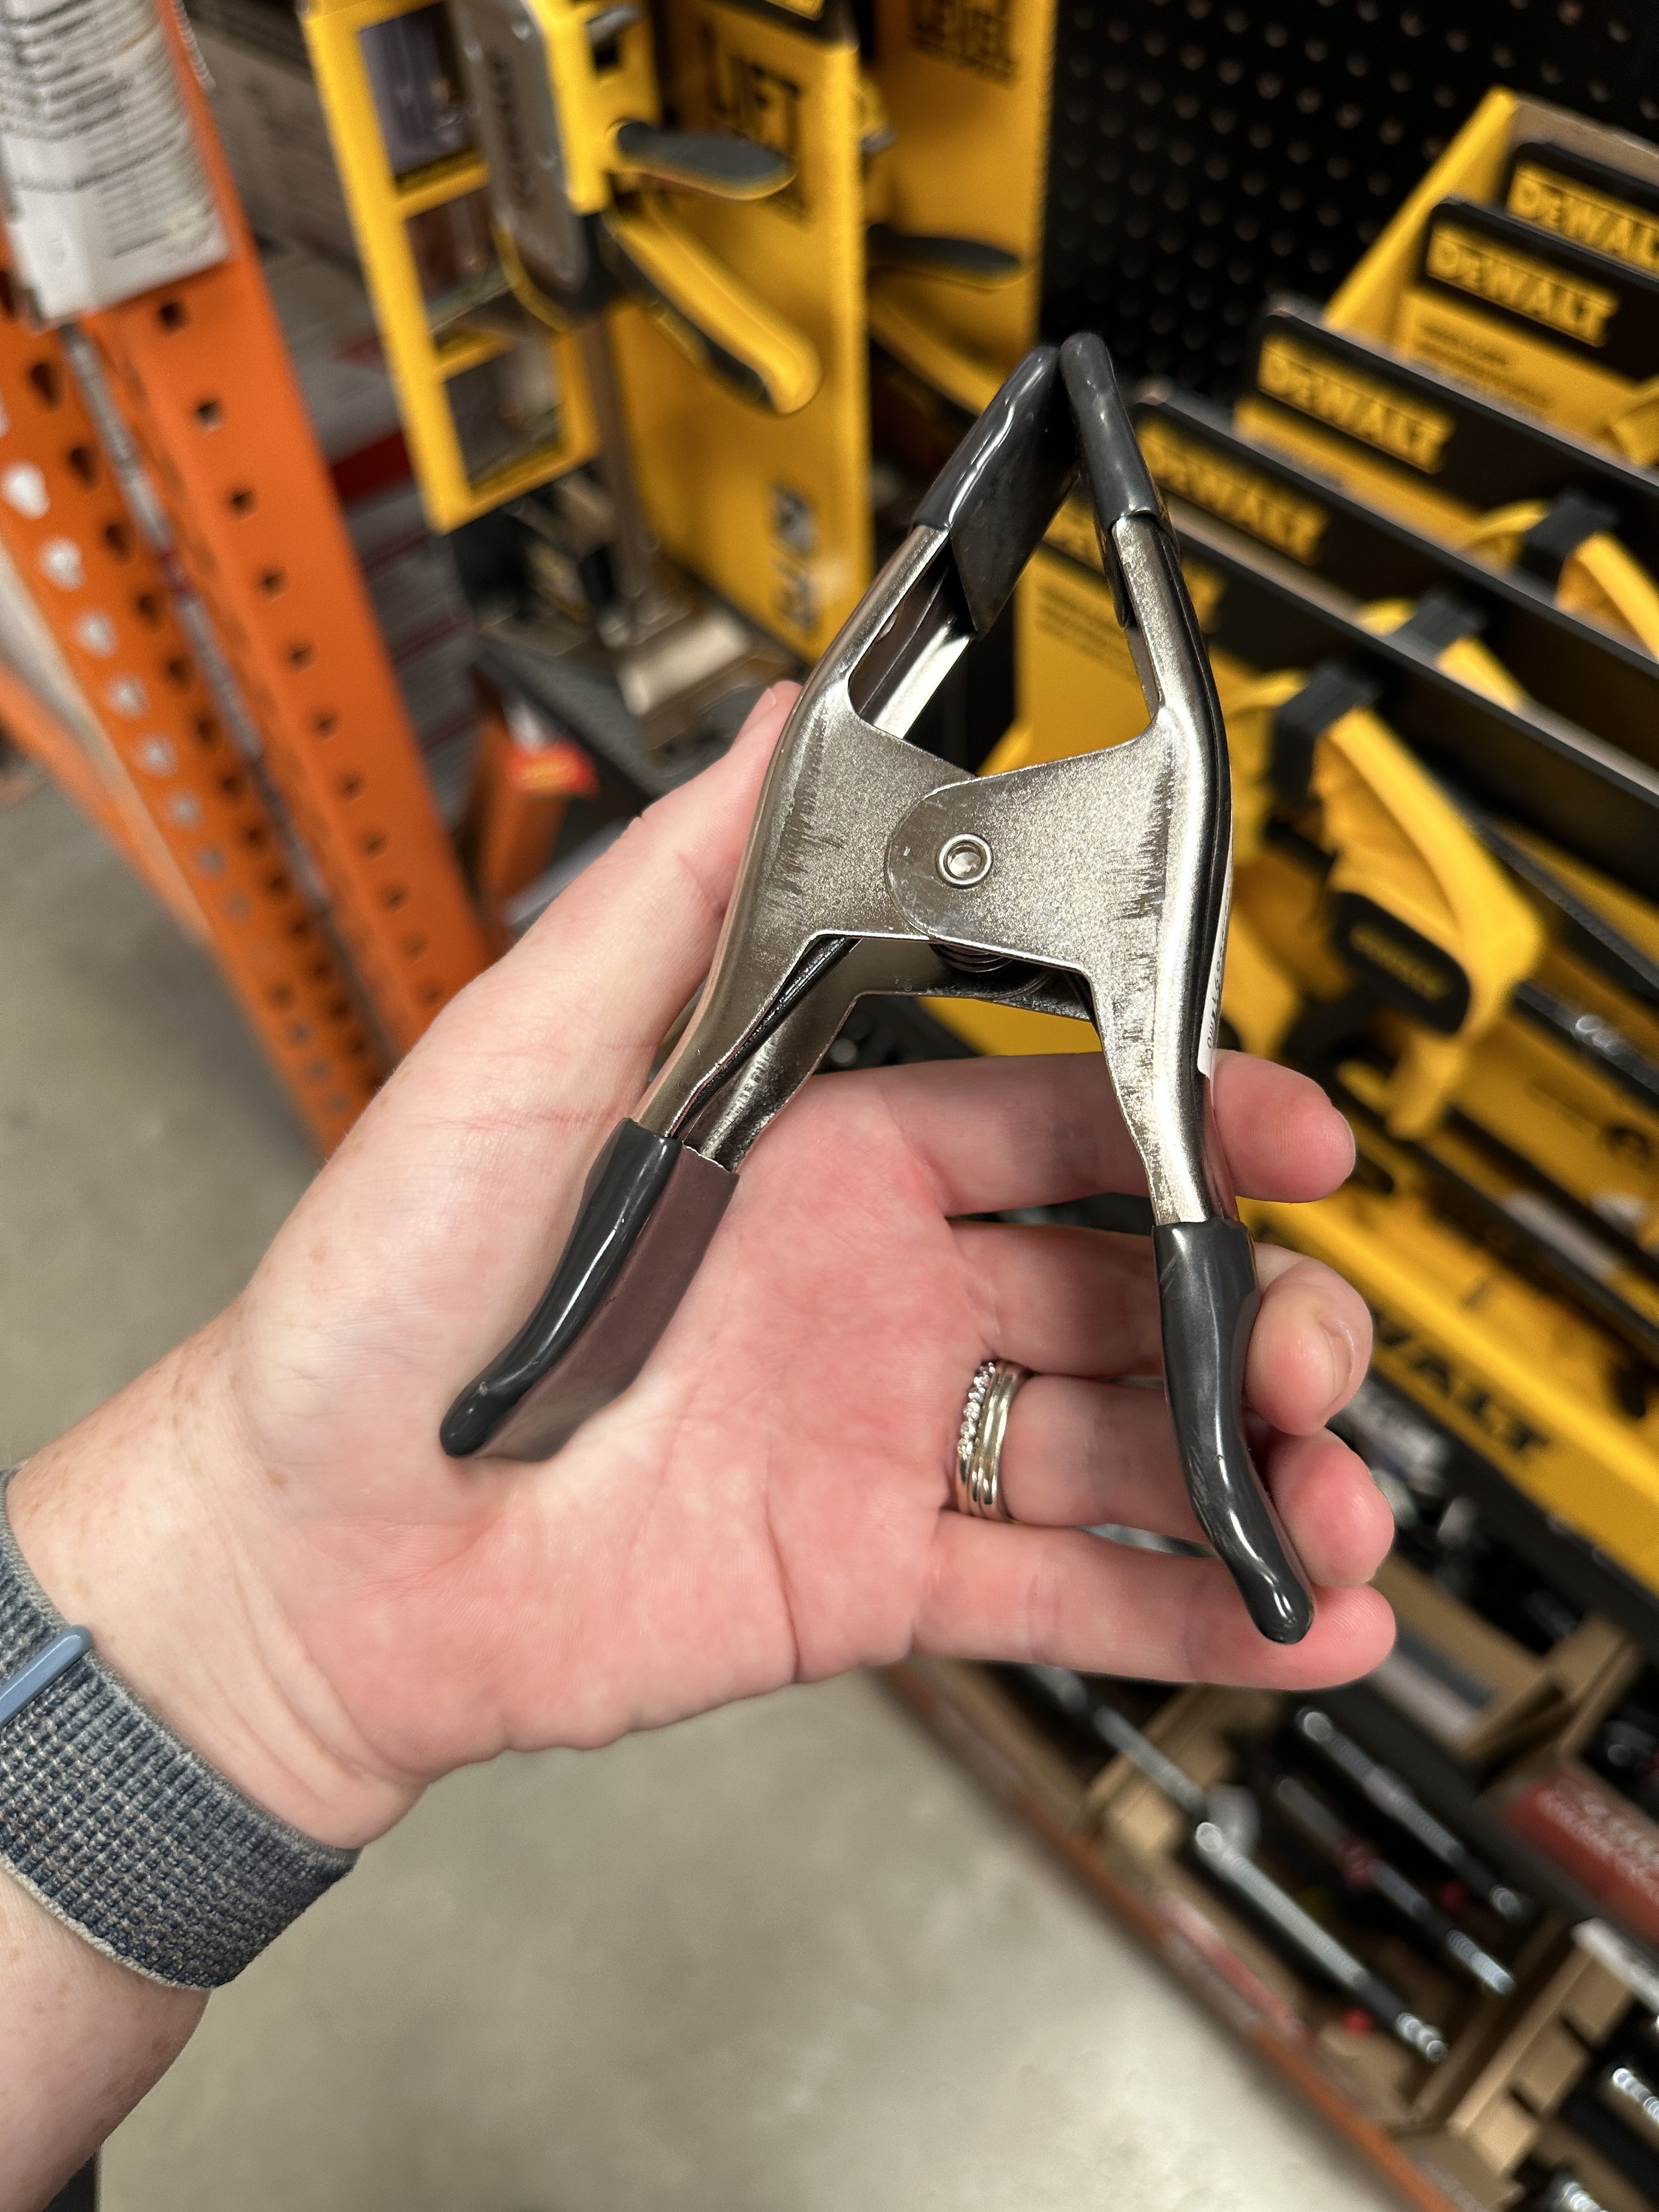
Spring Clamp (2 inches preferably and ones with a silicon tip to protect your quilt from dirt and rust)
Duct tape


Step-by-Step Guide:
Step 1: Gather Materials
Head to your local hardware store. Dowels can be found in the lumber department on the molding aisle, clamps in the hardware department, and duct tape in the paint department. If you're at a Home Depot, look for a lumber cart with a hand saw on the molding aisle where you can cut your dowels to size. At Lowe's or similar stores, ask an employee to trim them down with a circular saw.


Step 2: Assemble the Quilt Sticks
Take your dowel, duct tape, and clamp. Cut a piece of duct tape approximately 12 inches long
Position the handle of your clamp against the end of the dowel. Wrap the duct tape around the handle and dowel to secure them together.
Step 3: Secure the Connection
Press firmly to ensure the duct tape adheres well to both the handle and the dowel. This ensures a strong and stable connection.
Step 4: Enjoy Your Quilt Sticks!
Your quilt clamps should last for years without breakage. If anything loosens over time, simply apply more tape or redo the assembly process.

By following these easy steps, you'll have sturdy quilt sticks that make photographing your quilts a breeze! Whether you're showcasing your latest creation online or at a quilting show, these DIY quilt sticks will be your new favorite tool.

